*Happy Friday Everyone*
When people discover my love for crochet, they often ask where I learnt the craft. At the time I thought about spending an hour or two in a local beginners class, but I later had a sudden brain wave. YouTube. A brilliant platform, where you can follow step by step tutorials to learn how to apply social media perfect eyebrows (something I lack being *very* blonde), change a wheel of your car when stuck on the side of the road (Alice this happened to you right?) and of course…crochet a granny square!
My first attempt was HILARIOUS. My simple ‘crochet square’ would have been proud to be called a triangle…and even that was a compliment. I still have the tattered remains at the bottom of a huge yarn stash, and I’m sure it will make an appearance in a blog post this coming year just for a giggle, and to also show how much you can improve a skill just by pausing and rewinding a YouTube clip 50+ times. In 30 minutes. Dedication.
Anyway, as I learnt to crochet and ultimately started Elias Frank purely from free online clips, I have decided to blog some free patterns. A kind of spread the free crochet love, so to say. As this is my first (eek) pattern, I really hope it makes sense BUT if it doesn’t, please feel free to correct me! My face will be blushing from behind the screen.
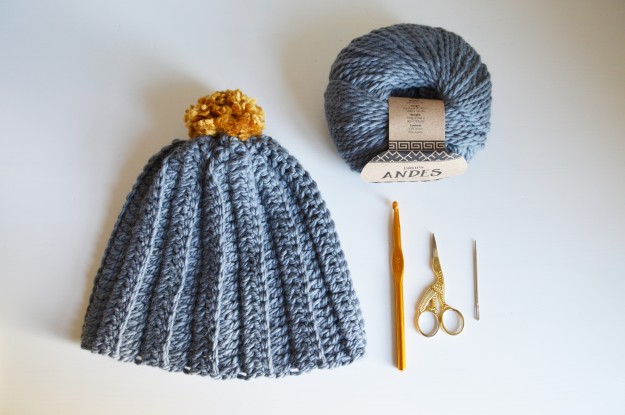
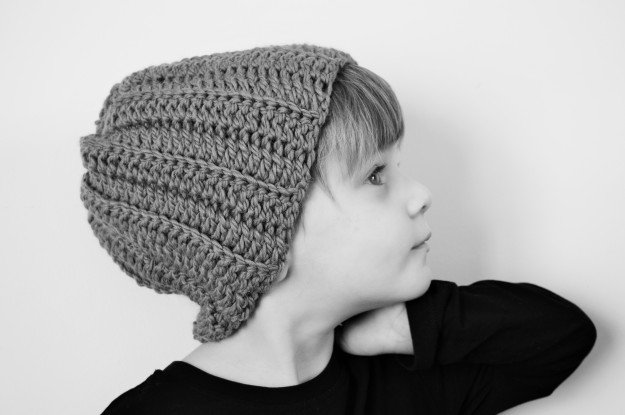
Adult Size Chunky Crochet Hat
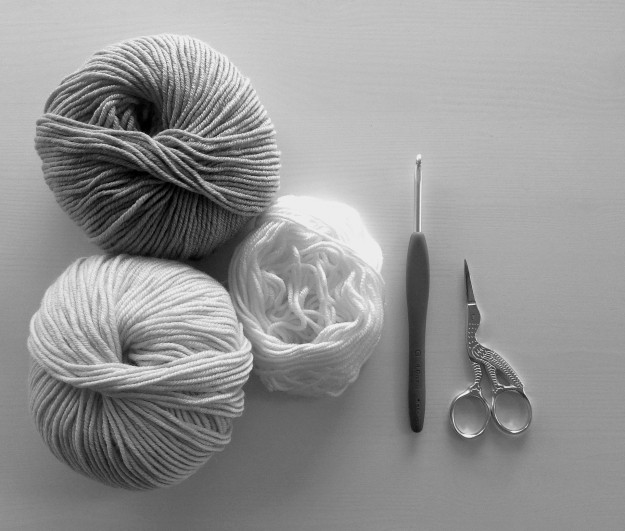
Materials:
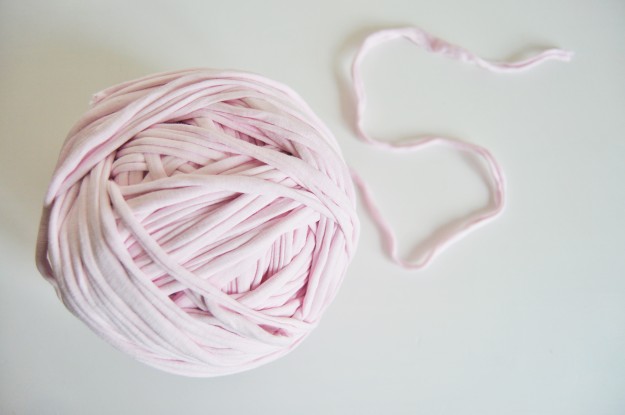
1 x 100g Drops Andes Chunky Yarn – Medium Grey
6.5 mm Hook
Large Eye Tapestry Needle
Spare Yarn For Bobble (this is a great stash burner, if required)
UK Stitch Terms
Chain (CH)
Treble Crochet (TR)
Slip Stitch (SS)
Pattern
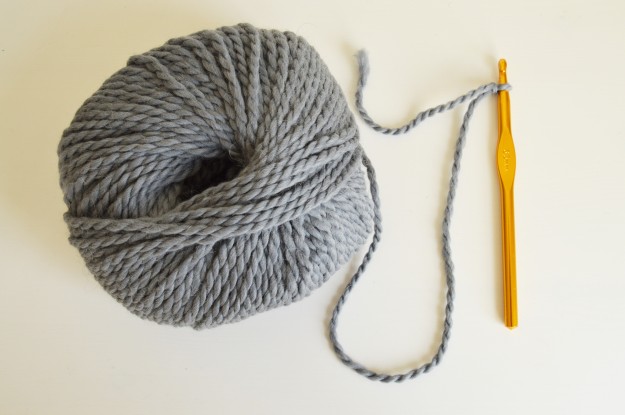 1. Slip knot to start the project
2. Chain 27

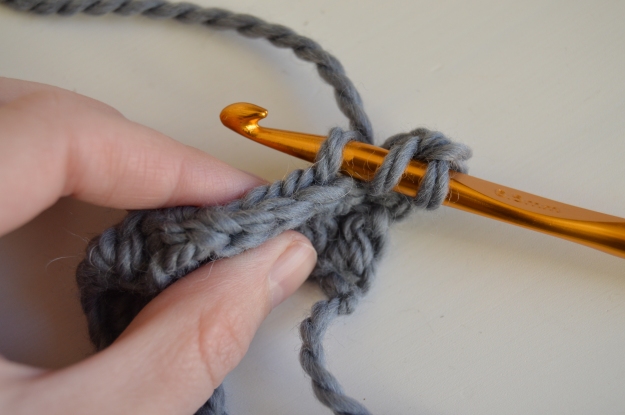
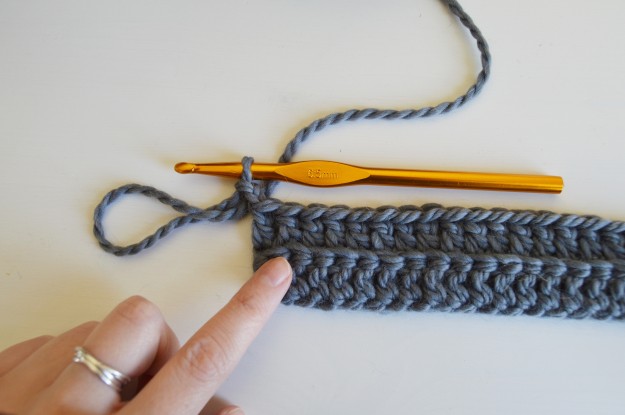
3. Treble Crochet (TR) into the second stitch from the hook.
4. TR crochet into the next 25 stitches, which will bring you to the end of the chain.
5. Chain (CH) 2 and turn.
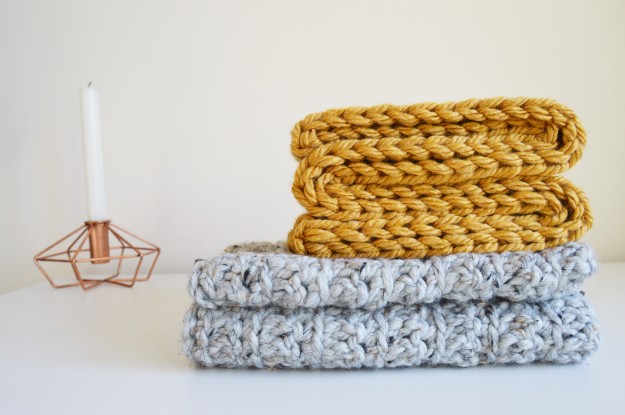
6. TR crochet into the next 25 back loops only. (This will create a ribbed effect – see image below).
7. Continue steps 4. and 5. until you have 24 completed rows.
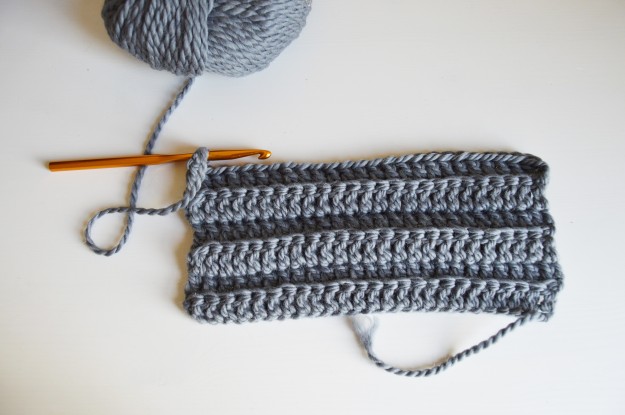
8. You will now have a lovely ribbed rectangle – ready to turn into a hat!


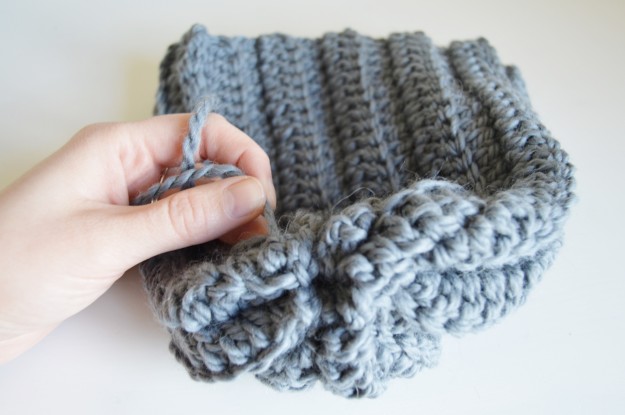
9. Do not yarn off. Fold the rectangle in half, so that the ribbing (that you want to be visible on the outside of the hat) is on the inside and slip stitch (SS) down the vertical length.
10. You will now have a tube of crochet material with openings at the top and bottom. Cut the yarn so there is roughly 20 cm in length remaining.
11. Using a tapestry needle, weave the yarn through the stitches at the top of the ribbed tube.

12. Pull the tail of yarn to close the gap neatly, secure and weave in the remaining tail (s).
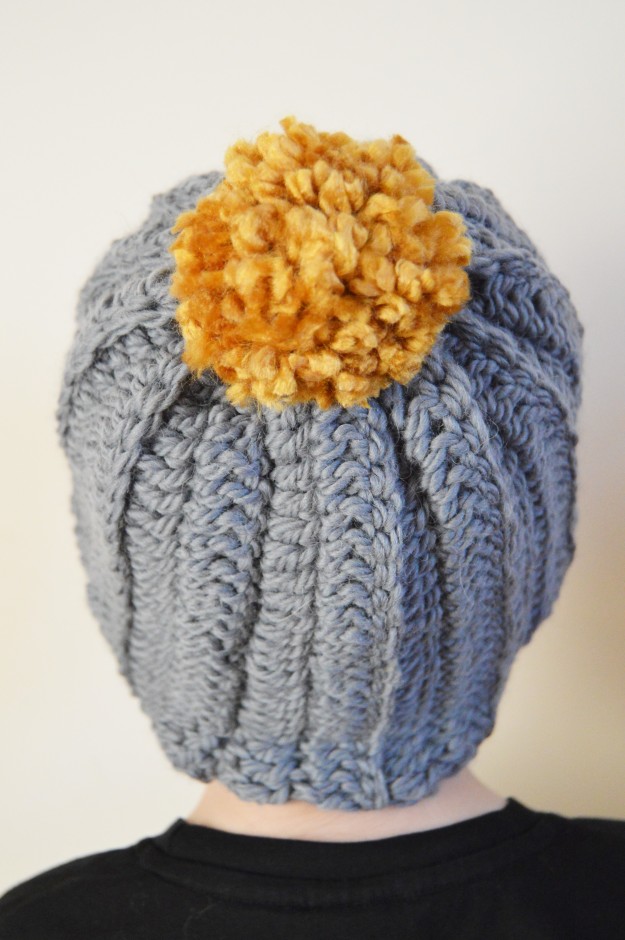
13. Turn the material inside out and your chunky crochet hat is now complete! Hurrah!!

(14. Add your own flare to the hat! I went with a teeny mustard bobble!)
The above pattern (yarn and hook dependant – eg. thicker yarn/bigger hook) will make you an average size adult hat. The rectangle shape in step 8. measures 40cm x 20cm.
To crochet a children’s hat reduce the chain and number of rows.
I really hope this free tutorial will enable at least one person to have a toasty warm head this winter.
Any questions, feel free to leave me a message.
Follow my love of crochet on Instagram: @_eliasfrank
(winter ready) Jess x


")
")


")
")
")
")